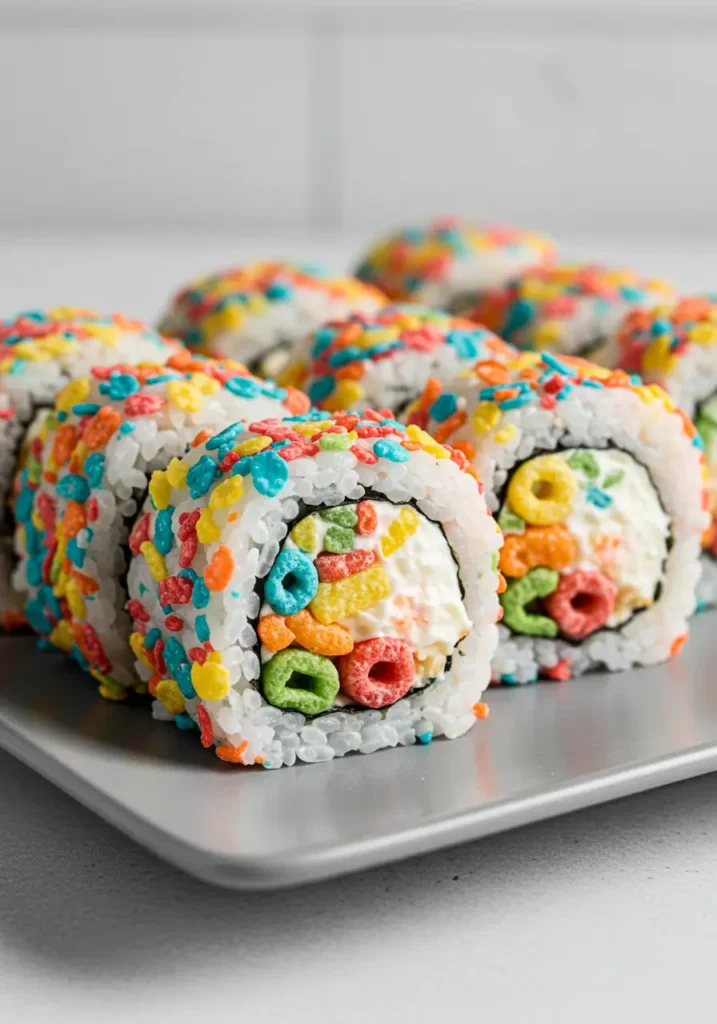
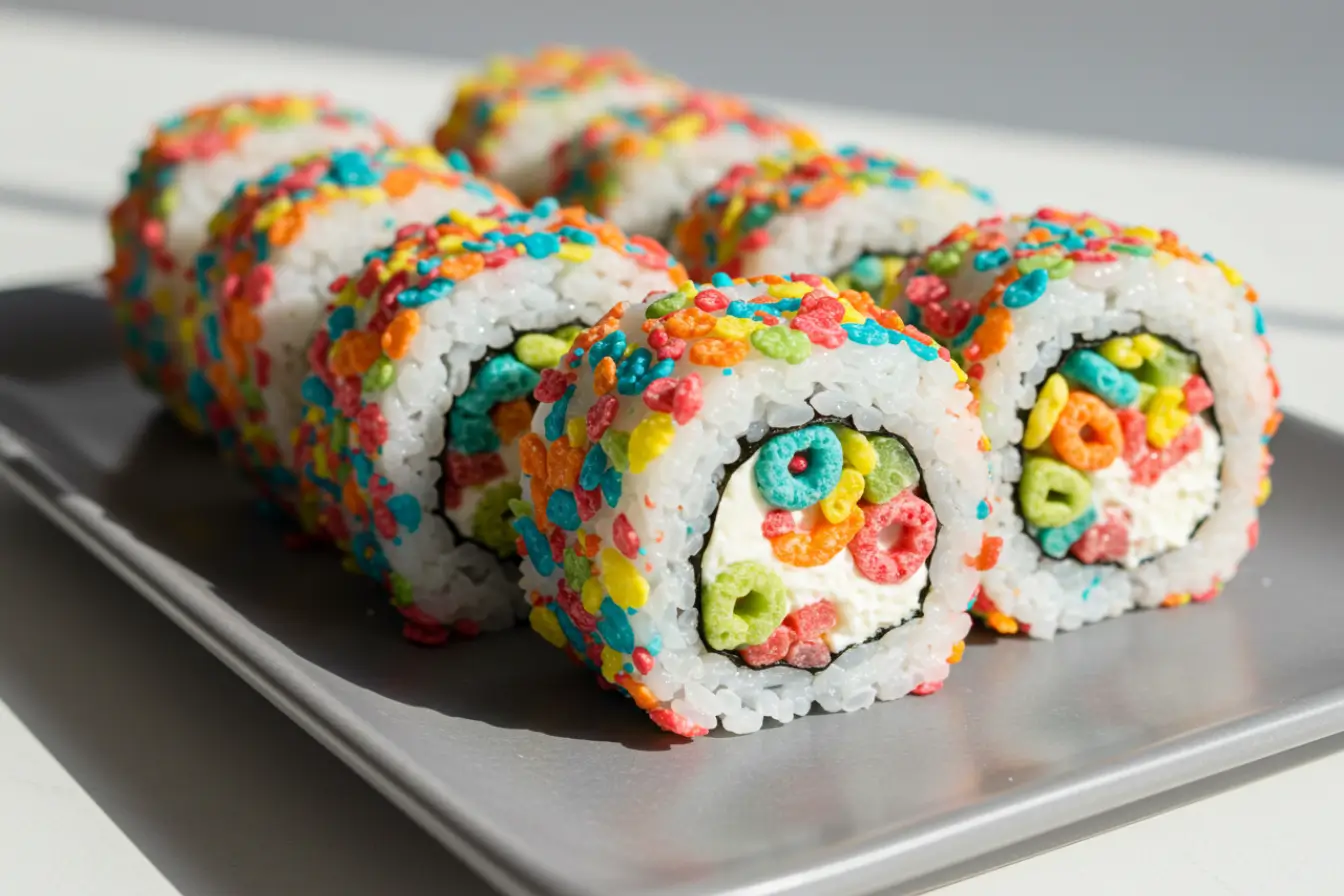
Some of the best recipes aren’t about fancy techniques, but about pure, simple joy. This Fruity Pebbles Sushi is exactly that, a colorful, sweet, and wonderfully silly treat that will bring a smile to anyone’s face. It’s a delightful no-bake creation that’s as much fun to make as it is to eat.
I remember the day my sister Jennifer came home with a magazine, her eyes wide with excitement. She pointed to a picture of candy sushi and declared, “We are making this, Sarah!” Our kitchen was never the same. We didn’t have a recipe, just her boundless creativity. There was sticky rice everywhere, cereal crunched under our feet, and we laughed until our sides hurt. This recipe is my attempt to capture that perfectly chaotic, wonderfully sweet afternoon we spent together, turning a simple idea into a cherished memory.
Why This Sweet Sushi Will Steal Your Heart
- No-Bake Fun: This is a fantastic recipe for getting kids involved in the kitchen without any heat.
- Quick & Easy: With minimal ingredients and simple steps, you can have this treat ready in under 30 minutes.
- Completely Customizable: Feel free to swap the fillings or the cereal to create your own unique version.
- Visually Stunning: The bright colors make it a perfect centerpiece for parties and celebrations.
The Simple List of Ingredients
- 2 cups sushi rice, cooked and cooled
- 3 tablespoons sugar
- 2 tablespoons rice vinegar
- 4 nori sheets
- 1 cup fruity cereal (like Fruity Pebbles or Froot Loops)
- 8 oz cream cheese, softened
- 1/2 cup mini marshmallows (optional)
- Extra fruity cereal for rolling garnish
A Couple of Tools That Really Help
Bamboo Sushi Mat
A simple bamboo mat makes rolling so much easier and helps you get that perfect, tight cylinder shape.
Sharp Chef’s Knife
For clean, beautiful slices that don’t squash your hard work, a very sharp knife dipped in water is your best friend.
How to Bring Your Fruity Sushi to Life
First, Season the Rice
In a small bowl, dissolve the sugar into the rice vinegar. Gently fold this mixture into your cooked and cooled sushi rice until it’s evenly coated. I always find using a rice paddle or a soft spatula here helps prevent the rice grains from breaking.
Next, Set the Stage for Rolling
Lay a bamboo sushi mat on your counter and cover it with a layer of plastic wrap. Place one sheet of nori on top, making sure the shiny side is facing down. This little plastic wrap trick is a lifesaver for cleanup later!
Then, Spread the Rice and Cereal
Spread a thin, even layer of your prepared rice over the nori. It helps to keep a small bowl of water nearby to dip your fingers in, as the rice can get quite sticky! Once the rice is spread, give it a light sprinkle with some of the fruity cereal.
Now, for the Big Flip
This is the part that feels like a real sushi chef move! Carefully lift the nori and flip it over, so the rice-covered side is now facing down on the plastic wrap.
Add the Creamy, Sweet Filling
In a line across the center of the nori, spread your softened cream cheese. This is where you can get creative! Add a sprinkle of fruity cereal and a few mini marshmallows if you’re using them. Just be careful not to overfill, or it will be tricky to roll.
Gently Roll it Tight
Using your bamboo mat to help guide you, begin to carefully roll the sushi away from you. Use gentle but firm pressure to create a tight log. Take your time with this step; a steady hand makes all the difference.
Finally, Slice and Garnish
Dip a very sharp knife into water before making each cut, this prevents the rice from sticking and gives you clean, perfect slices. After slicing the roll into even pieces, gently press and roll the cut edges in the extra cereal for that beautiful, crunchy finish.

A Quick Note on Nutrition
Please note that the nutritional information provided is an estimate and can vary based on the specific ingredients and quantities used. The values are calculated for the entire recipe and may change with any substitutions.
A Few Simple Swaps for a Lighter Treat
- Reduce the Sugar: You can easily cut the sugar in the rice vinegar mixture by half or use a natural sweetener alternative like a touch of honey or maple syrup.
- Go Whole Grain: For a bit of extra fiber, try making this with cooled, cooked brown rice instead of traditional white sushi rice. The texture will be a little different, but it’s just as delicious.
- Lighten the Cream Cheese: Swap the full-fat cream cheese for a light version or even Neufchâtel cheese to reduce the overall fat content without sacrificing that creamy texture.
My Favorite Ways to Serve This Treat
- Dessert Charcuterie Board: Arrange the colorful sushi pieces on a large platter with fresh berries, sliced melon, and a small bowl of chocolate dipping sauce for a fun, interactive dessert.
- Kid’s Party Platter: Serve these alongside other fun, kid-friendly finger foods for a birthday party. They are always the first thing to disappear!
- Fun with Chopsticks: For an authentic (and fun!) experience, serve the sushi with training chopsticks for the little ones. It turns snack time into a playful activity.
A Few Gentle Tips to Keep in Mind
- Using Warm Rice: Always let your rice cool completely. Hot or even warm rice will wilt the nori sheet, making it difficult to roll and potentially tear.
- Overfilling the Roll: It’s tempting to pack in lots of filling, but this is the number one reason rolls fall apart. A thin, even layer of each ingredient is all you need.
- Using a Dull Knife: A dull knife will crush and tear your beautiful roll. For those picture-perfect slices, a sharp, wet knife is absolutely essential.
If You Happen to Have Leftovers…
This Fruity Pebbles Sushi is definitely best enjoyed the day it’s made, as the cereal can lose its crunch over time. However, if you have leftovers, you can store them in an airtight container in the refrigerator for up to 24 hours. To prevent the rice from hardening, you can place a damp paper towel in the container, not touching the sushi itself.
From My Kitchen to Yours
Food, for me, is all about the memories we attach to it. It’s about the laughter, the shared moments, and the love that gets folded into every bite. I hope this wonderfully whimsical recipe brings a little bit of that same joy into your kitchen. Whether you make it with your sister, your children, or for yourself, I hope you create a memory that is just as sweet and colorful.
You Might Be Wondering…
Can I use a different kind of cereal?
Absolutely! While Fruity Pebbles give it that classic look, any crunchy, colorful cereal would work wonderfully. Think Froot Loops, Cap’n Crunch’s Crunch Berries, or even Trix.
Do I have to use a bamboo sushi mat?
The bamboo mat makes rolling much easier and more uniform, but you can definitely make it without one. A sheet of parchment paper or a clean, flexible plastic cutting board can work in a pinch. Just be sure to roll slowly and apply even pressure.
Can I prepare this recipe ahead of time?
It’s best served fresh to ensure the cereal stays crunchy and the rice stays soft. However, you can make it a few hours in advance. Just be sure to wrap the entire uncut roll tightly in plastic wrap and store it in the refrigerator. Slice and garnish right before you plan to serve it.
Print
Fruity Pebbles Sushi
- Total Time: 20 minutes
- Yield: 4 rolls (about 24 pieces) 1x
- Diet: Vegetarian
Description
A colorful, sweet, and wonderfully silly no-bake treat that turns Fruity Pebbles into fun sushi rolls—perfect for kids, parties, and joyful memories.
Ingredients
- 2 cups sushi rice, cooked and cooled
- 3 tablespoons sugar
- 2 tablespoons rice vinegar
- 4 nori sheets
- 1 cup fruity cereal (like Fruity Pebbles or Froot Loops)
- 8 oz cream cheese, softened
- 1/2 cup mini marshmallows (optional)
- Extra fruity cereal for rolling garnish
Instructions
- In a small bowl, dissolve the sugar into the rice vinegar. Fold into cooked and cooled sushi rice.
- Lay a bamboo mat with plastic wrap, place one sheet of nori shiny side down.
- Spread rice evenly over nori, sprinkle lightly with fruity cereal.
- Flip the nori so rice side faces down.
- Spread softened cream cheese in a line across the center, add cereal and marshmallows if desired.
- Using the mat, roll tightly into a log with gentle pressure.
- Dip a sharp knife in water and slice roll into even pieces.
- Press sliced edges into extra cereal for garnish.
Notes
Best enjoyed the day it’s made. Let rice cool fully before rolling. Avoid overfilling and always use a sharp, wet knife for clean slices.
- Prep Time: 20 minutes
- Cook Time: 0 minutes
- Category: Dessert
- Method: No-Bake
- Cuisine: Fusion
Nutrition
- Serving Size: 1 roll (6 pieces)
- Calories: 220
- Sugar: 12g
- Sodium: 160mg
- Fat: 8g
- Saturated Fat: 5g
- Unsaturated Fat: 3g
- Trans Fat: 0g
- Carbohydrates: 32g
- Fiber: 1g
- Protein: 4g
- Cholesterol: 20mg
Keywords: fruity pebbles sushi, no-bake dessert, fun kids recipe, colorful party snack

