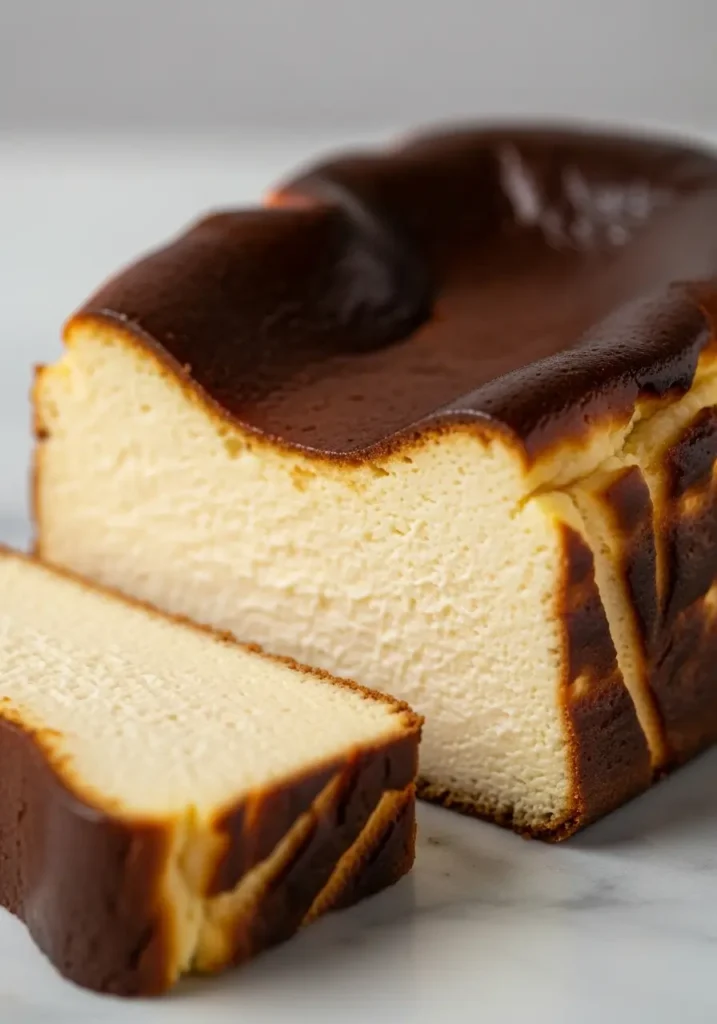
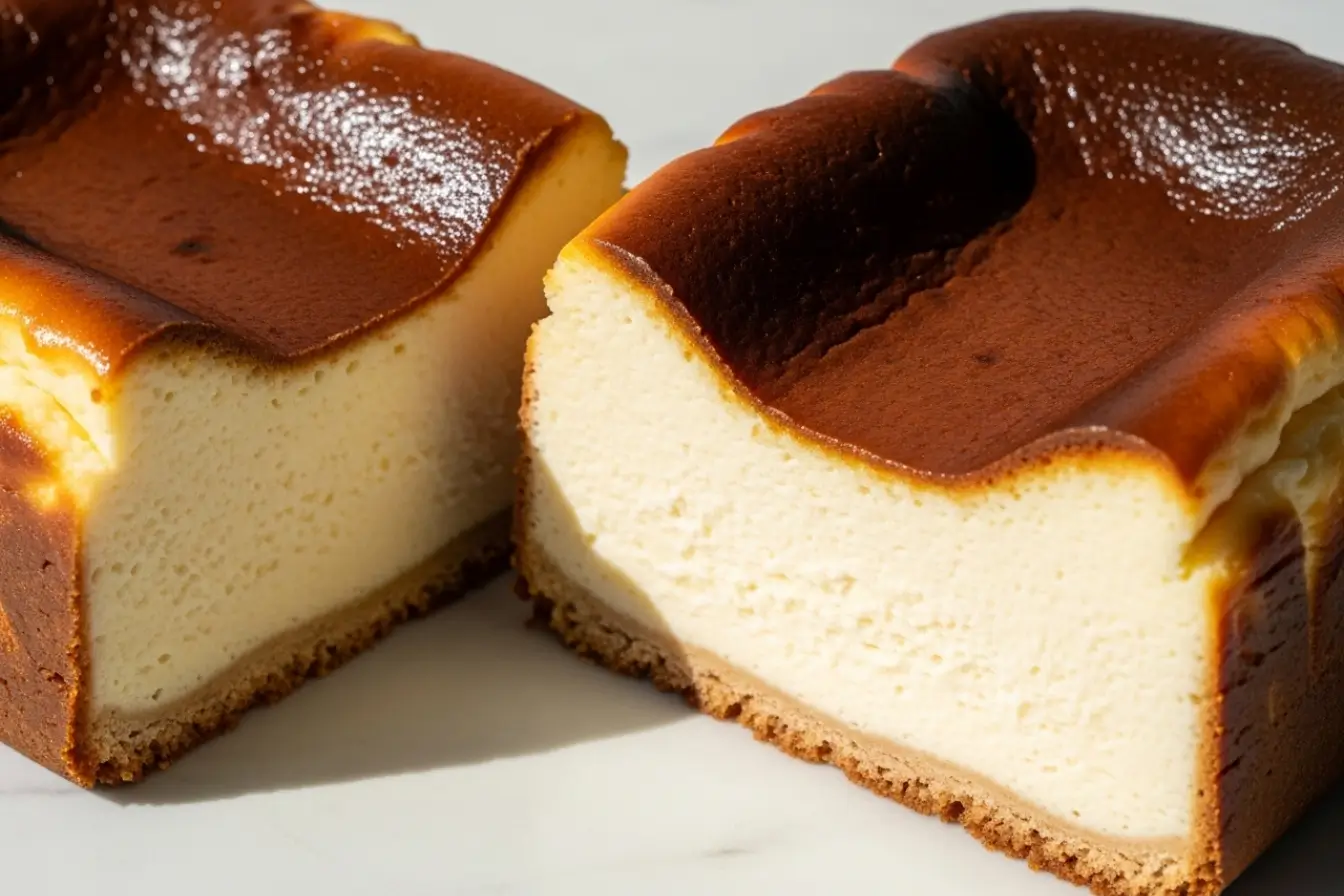
This Burnt Basque Cheesecake is a dream, with its deeply caramelized “burnt” top and unbelievably creamy center. It’s a classic, crustless cheesecake that breaks all the rules in the most delicious way.
My sister, Jennifer, first made this, worrying she’d burnt the top. But that happy accident revealed the creamiest cheesecake we’d ever tasted. It became our family’s sweet lesson that the most wonderful things are often perfectly imperfect, a memory I cherish with every slice.
A Few Little Secrets to Success
- Room Temperature is a Must: For the smoothest, most velvety batter, always let your cream cheese and eggs rest on the counter for a bit before you begin.
- Embrace the Deep Color: That beautifully “burnt” top isn’t a mistake—it’s the signature of this cake, giving it a lovely, subtle caramel flavor.
- Patience Before the First Slice: Letting the cheesecake cool and then chill completely is the true secret. This is what gives it that dense, incredibly creamy texture.
- Perfectly Imperfect is the Goal: Don’t fret over cracks or a rustic, uneven surface. That’s the unique charm of a true Basque Cheesecake.
What You’ll Need From Your Pantry
- 2 cups cream cheese (room temp, 16 oz)
- 1 cup granulated sugar
- 3 large eggs (room temp)
- 1 cup heavy cream
- 1/2 teaspoon salt
- 1 teaspoon vanilla extract
- 1/4 cup all-purpose flour
- Butter, for greasing pan
- Parchment paper
My Trusted Kitchen Helpers
Electric Hand Mixer
For this cheesecake, a good electric hand mixer is a must to get the cream cheese perfectly smooth and fluffy.
9-inch Round Cake Pan
A 9-inch round cake pan is the perfect vessel for this dessert, and lining it with overhanging parchment paper is key for easy removal.
Bringing Our Cheesecake to Life
First, Warming the Oven and Preparing Our Pan
Preheat your oven to 400°F (205°C). Lightly butter a 9-inch round cake pan and line it with parchment paper, allowing it to overhang on all sides for easy lift-out. A little tip from my kitchen: don’t be afraid to press the parchment paper into the corners to create a rustic, folded look.
The Secret to a Velvety Batter
In a large bowl, beat the cream cheese and sugar together until very smooth and fluffy, about 2–3 minutes. It’s so important to get this step right to avoid a lumpy cheesecake!
Adding the Eggs, One by One
Add the eggs one at a time, beating well after each addition. Remember to scrape down the bowl to keep the batter smooth and consistent.
Pouring in the Cream and Vanilla
Pour in the heavy cream, salt, and vanilla. Mix until everything is fully combined. The aroma at this stage is just heavenly.
A Gentle Fold of Flour
Sift in the flour and gently fold or mix until no lumps remain. The batter will be loose, and that’s exactly what you want for this creamy dessert.
Ready for the Pan
Pour the batter into the prepared pan and tap it gently on the counter to release any air bubbles. This little step helps ensure a beautifully even texture.
Baking to a Golden ‘Burn’
Bake on the center rack for 45–50 minutes. The top should be a deep golden brown, and the center will have a gentle jiggle. Trust the process; that jiggle means it’s perfectly creamy inside.
The All-Important Cool Down
Let the cheesecake cool completely in the pan. For the best texture, chill it for at least 4 hours or, even better, overnight before slicing and serving. I know it’s hard to wait, but it’s so worth it!

A Little Note on Nutrition
Please note that the nutritional information provided is an estimate and can vary based on the specific ingredients and brands used.
If You’d Like to Make it Lighter
- Reduced-Fat Cream Cheese: For a lighter version, you can substitute one of the blocks of cream cheese with a reduced-fat variety.
- Sugar Substitute: If you’re watching your sugar intake, a granulated sugar substitute that measures cup-for-cup can be used.
- Greek Yogurt: To add a bit of protein and tang, you can replace half of the heavy cream with full-fat plain Greek yogurt.
My Favorite Ways to Serve a Slice
- With a Scatter of Fresh Berries: A simple handful of fresh raspberries or sliced strawberries provides a beautiful color and a tart contrast to the rich cheesecake.
- With a Warm Drizzle of Caramel: For an extra touch of indulgence, a warm drizzle of caramel sauce over a chilled slice is simply divine.
- With a Simple Dollop of Cream: A classic for a reason! A light and airy dollop of freshly whipped cream complements the dense, creamy texture of the cheesecake perfectly.
A Few Common Stumbles to Avoid
- Starting with Cold Ingredients: Make sure your cream cheese and eggs are at room temperature. Cold ingredients won’t combine as smoothly and can result in a lumpy batter.
- Being Too Energetic with the Mixer: Once you add the flour, mix until just combined. Overmixing can develop the gluten and result in a tougher cake.
- Slicing into a Warm Cake: The cheesecake needs to cool and chill completely to set properly. Slicing it while it’s still warm will result in a messy, unset center.
Keeping Your Cheesecake Fresh
This cheesecake can be stored in the refrigerator, tightly covered, for up to 3 days. It’s a wonderful dessert to make ahead of time.
From My Kitchen to Yours
There’s something so special about a dessert that’s both elegant and wonderfully rustic. This Burnt Basque Cheesecake is just that, a sweet, creamy dessert that’s meant to be shared. I hope you’ll bake this in your own kitchen and create beautiful memories, just like my sister and I did.
Your Questions, Answered
What kind of pan works best?
Yes, a 9-inch springform pan will work perfectly for this recipe. Be sure to line it with parchment paper as instructed.
Is it okay if my cheesecake cracks on top?
Cracks are a natural and expected part of a Basque cheesecake’s rustic charm, so don’t worry if you see them! They are part of what makes this dessert unique.
Can I make this recipe gluten-free?
Absolutely. You can substitute the all-purpose flour with a cup-for-cup gluten-free flour blend to make this a gluten-free dessert.
Print
Burnt Basque Cheesecake
- Total Time: 1 hour 5 minutes
- Yield: 1 cheesecake (8 servings) 1x
- Diet: Vegetarian
Description
This Burnt Basque Cheesecake is a dream, with its deeply caramelized ‘burnt’ top and unbelievably creamy center. It’s a classic, crustless cheesecake that breaks all the rules in the most delicious way.
Ingredients
- 2 cups cream cheese (room temperature, 16 oz)
- 1 cup granulated sugar
- 3 large eggs (room temperature)
- 1 cup heavy cream
- 1/2 teaspoon salt
- 1 teaspoon vanilla extract
- 1/4 cup all-purpose flour
- Butter, for greasing pan
- Parchment paper
Instructions
- Preheat oven to 400°F (205°C). Lightly butter a 9-inch round cake pan and line it with parchment paper, allowing it to overhang on all sides.
- In a large bowl, beat cream cheese and sugar together until very smooth and fluffy, about 2–3 minutes.
- Add eggs one at a time, beating well after each addition and scraping down the bowl.
- Pour in heavy cream, salt, and vanilla. Mix until fully combined.
- Sift in flour and gently fold or mix until no lumps remain. Batter will be loose.
- Pour batter into prepared pan and tap gently on the counter to release air bubbles.
- Bake on center rack for 45–50 minutes until top is deep golden brown and center has a gentle jiggle.
- Let cheesecake cool completely in the pan, then chill at least 4 hours or overnight before slicing and serving.
Notes
For best texture, ensure ingredients are at room temperature and avoid overmixing after adding flour. Cracks or a rustic top are part of the Basque charm.
- Prep Time: 15 minutes
- Cook Time: 50 minutes
- Category: Dessert
- Method: Baked
- Cuisine: Spanish
Nutrition
- Serving Size: 1 slice
- Calories: 420
- Sugar: 28g
- Sodium: 310mg
- Fat: 32g
- Saturated Fat: 18g
- Unsaturated Fat: 12g
- Trans Fat: 0g
- Carbohydrates: 30g
- Fiber: 0g
- Protein: 7g
- Cholesterol: 145mg
Keywords: burnt basque cheesecake, creamy cheesecake, crustless cheesecake, easy dessert, Spanish dessert

